IVVM - VENDOR MAINTENANCE
Add/Change/Delete Vendors
To open IVVM, press <Alt M> ("Menu") and follow the Menu path illustrated below, then press <Enter>, or simply enter <IVVM> in the "Enter Program Name" field and press <Enter>.
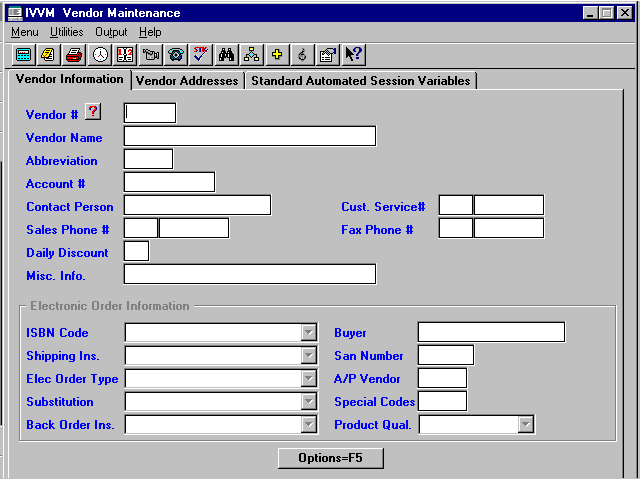
Enter the three-digit vendor number, the abbreviation for the vendor, or press <F3> for "Vendor Look Up." At "Vendor Look Up," arrow down to locate the vendor, or enter the first few letters of the vendor name and the cursor will move to that alphabetical range. Highlight the correct vendor and select OK. The vendor maintenance information will be transferred to the screen.
If you are adding a new vendor, assign a number to this vendor and continue to set up the maintenance information.
Enter the name of the Vendor.
Enter the abbreviation/acronym that you may use to call the vendor number. You may use any variation of up to five digits.
Example: "CHWLD" could be used to bring up a vendor number 048, which could be Christian World.
Enter the account number the vendor has assigned to your store.
Enter the name of the person whom you should contact.
Enter the telephone number for customer service.
Enter the telephone number where orders will be taken.
Enter the fax number of the vendor where purchase orders will be faxed.
Enter the average discount you normally receive from this vendor.
Enter any miscellaneous information for this vendor.
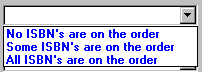
You may select one of the options in the ISBN drop box.
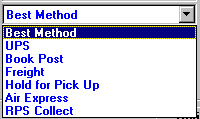
Select one of the options in the shipping instructions drop box. The default is "Best Method."
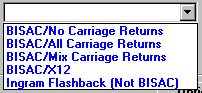
You may select one of the options in the electronic order type drop box.
Spring Arbor BISAC/All Carriage Returns Anchor BISAC/No Carriage Returns Riverside BISAC/No Carriage Returns Provident BISAC/No Carriage Returns Nelson/Word BISAC/No Carriage Returns Appalachian BISAC/Mixed Carriage Returns New Day BISAC/No Carriage Returns Ingram Ingram Flashback (Not BISAC) Chordant BISAC/No Carriage Returns X12 info. BISAC/X12
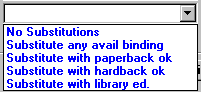
You may select one of the options in the substitution drop box.
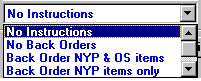
Select one of the options in the backorder instruction drop box. The default is "No Instructions."
Enter the name of the person who will be placing orders to this vendor.
Enter the publisher's Standard Address Number. This number is only used when you are using electronic ordering. You will need to get the number from the publisher.
Enter the six-digit Accounts Payable number you have given the vendor. (Used only as a reference.)
Enter any special codes obtained from the vendor that the vendor needs. This field is only used on electronic orders. These entries may also be overridden on a purchase order in the IVO ("Make/Change Orders") program.
The following companies have forwarded information to us:
Ingram requires specific codes which you must get direct from them. The six positions in the field must express Ingram's code for:
1. GreenLight either "Y" or "N"
"Y" will agree to participate in the GreenLight program to access approximately 75,000 lower-demand titles which are usually sold at a lower discount than regular inventory titles.
2. Warehouse Pairs either "Y" or "N"
"Y" means any items ordered not available from the Primary distribution center will be shipped from the Secondary distribution center.
3. Warehouse Code
(C=Walnut, CA; D=Ft.Wayne, IN; P=Petersburg, VA; K=East Windsor, CN; M=Denver, CO; N=LaVergne, TN; E=Roseburg, OR; A=Newport, TN; etc. new codes may be added in the future)
4. P.O. Type
(0=Purchase Order; 1=Confirmation Only; 2=Reserved for Future Use; 3=Stock Status Check; 4=Reserved for Future Use; 5=Confirmation Only--For Specific PO#)
5. Backorder Release either "H" or "R"
"H" means to hold titles to be combined with next shipment. "R" means to release and ship immediately when received.
6. (Future Use)
When calling for this information, tell Ingram to recognize your order by your SAN number instead of your account number.
Ingram Example:
Electronic Codes (YYC0R) means:
- Yes to GreenLight.
- Yes to warehouse pairs.
- Ship from Walnut, CA.
- This is a purchase order.
- Release backorders to ship immediately.
For further explanation concerning the meaning of these choices, please refer to your Ingram catalog or call Ingram.
Note: To request a confirmation on an order already sent to Ingram, change the "Special" codes field under the "General Information" of the Purchase Order to show a "5" = Confirmation Only--For Specific P.O.#, instead of a "0" = Purchase Order. The "5" should be the fourth character of the "Special" codes.
Spring Arbor will ship from the warehouse nearest you, using the shipping method set up with you; however, you may request items to be shipped a different way and/or from another warehouse:
Shipping: 401=Cheapest, 402=UPS, 403=Book Rate, 404=Freight, 405=Pick-up, 406=UPS Second Day Warehouse: 501=TN, 502=OR, 503=TX, 504=CA, 505=FL, 506=AR, 507=MI (Note: The Florida warehouse is only for returns.)
For vendors receiving EDI orders.
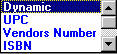
Choose whether sending orders using UPC numbers, vendor numbers, ISBN numbers or "Dynamic," which is a mixture of all. The default is "Dynamic."
Press <F2> to move to Screen 2.
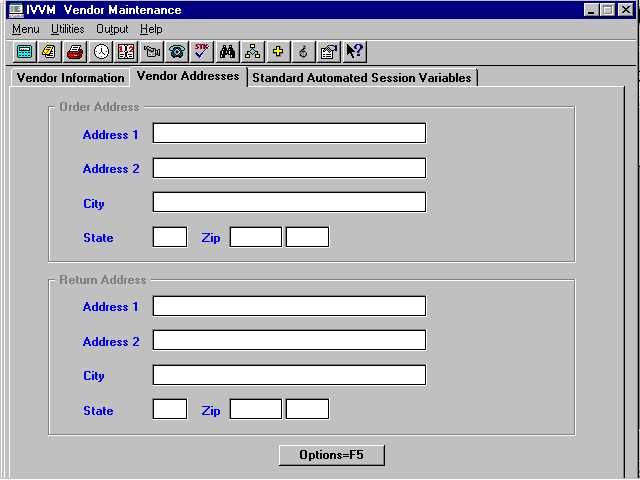
Enter the vendor order address, where you will mail purchase orders.
(Address 1, Address 2, City, State, and Zip)
Enter the vendor address for mailing returned merchandise.
(Address 1, Address 2, City, State, and Zip)
Press <F2> to move to Screen 3, or press <Esc> to return to Screen 1.
Screen 3 - Standard Automated Session Variables
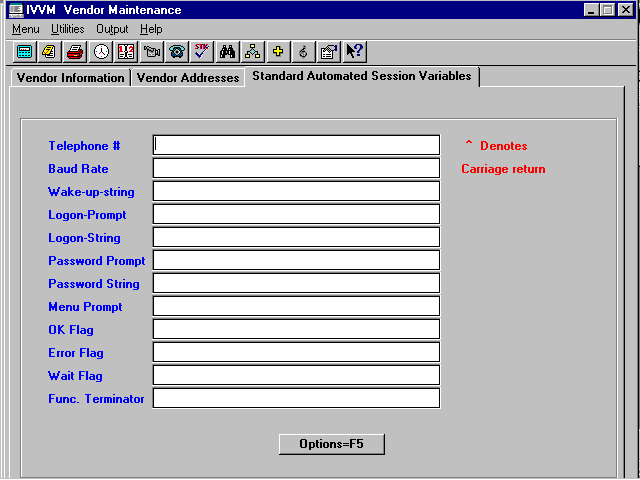
Screen 3 displays the Standard Automated Session Variables (SAS), where you may enter information that is needed for some vendors to receive electronic orders.
Press <F2> to return to Screen 1, or press <Esc> to return to Screen 2.
Or
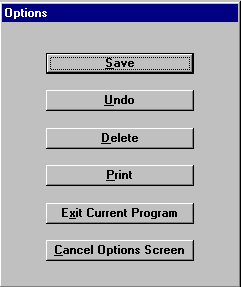
Press <F5> for options to Save, etc.