APCP - PRINT CHECKS
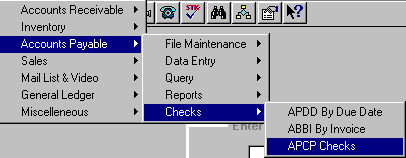
To open APCP, press <Alt M> ("Menu") and follow the Menu path illustrated below, then press <Enter>, or simply enter <APCP> in the "Enter Program Name" field and press <Enter>.


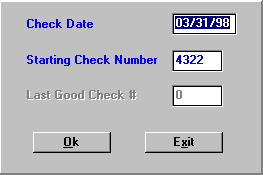
The "Check Date" and "Starting Check Number" fields default to the current date and the next check after the last check run. Select OK to accept the defaults and print the checks, or you can overwrite the defaults.
If using a dot matrix printer, you are given the option of a test pattern. The test pattern should print on the last line of the check voucher. Adjust your checks by taking printer off line. Do NOT turn off the power to the printer, as you will lose the settings sent to the printer. Another test pattern will print in the same place and will not form feed to a new check. When prompted for the check number, use the number of the check that the test pattern is printed on. This check will be voided. You are not given option of a test pattern on laser printers.
Upon completion of printing checks, the message, "Did all the checks print correctly?", will be displayed. Select No if you need to rerun the checks:
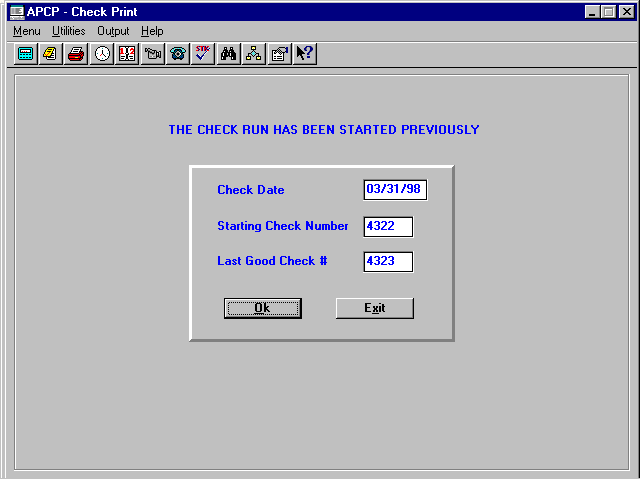
Example: If the checks jam for any reason, you can skip the checks that have already printed properly and begin printing again from the point of the last good check by entering that check number in the "Last Good Check" field. The checks will begin printing with the next check number.

After rerunning the checks, the message, "Did all the checks print correctly?", will be displayed again. If all checks have printed properly, select Yes, to post automatically to the General Ledger.
Note: The General Ledger entries go to a holding file, GLAP ("Accounts Payable Transfer"). The entries can be sent to the General Ledger by date when you are closing the month in which the checks were written.
The voucher of the check will show each invoice/credit memo that will be paid and the total amount of the check. The vendor name and address will be printed on the check. Tear off for your records